Copper Coated Steel Hauberk
I'm seriously starting to produce my Hauberk, or chainmaille armor shirt. My hauberk is being made out of 16 AWG (1/16" dia wire) gauge Copper Coated Steel purchased form Lord Charles. DC Wire Works
Over the next few weeks, and maybe months (hopefully not though) I'll be posting some random pictures and updates on the progress of my hauberk.
Enjoy.
d^_^b
|
|
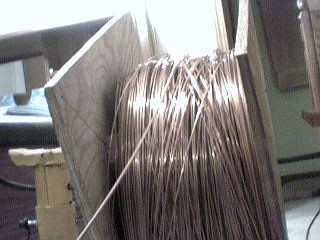
Copper Coated Steel 9/9/03
Starting this project, was a little interesting.
The wire came to me in a spool without a core, leaving the wire very suceptable to tangles and kinks while coiling. I had to build myself a spool around the wire so that it would not unravel or tangle. doing this I took 16"x16" sheets of plywood and four 6" 2x2s and constructed a square spool around the wire with a 3/8" hole through the center.
|
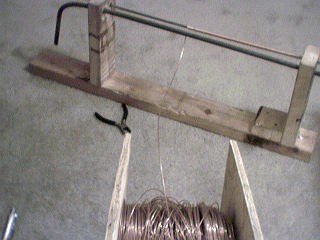
Winding Setup 9/9/03
As with most of my projects, I coil and cut my own links. Here you can see my coiling setup. I coil my links counter clockwise or the "wrong" way. However this is only "wrong" to the modern chain maillers. These links are wound in the same direction as Lord Charles of DC wireworks, as well as being historically accurate as far as I have been able to determine. |
|
|
|
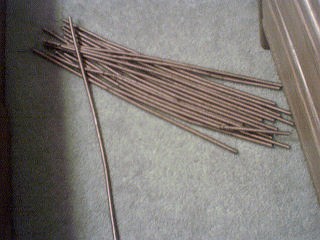
Coils, coils, and more coils 9/9/03
I've come to the realization that I'm going to use most, if not all of the wire I purchased from LC. I just hope I don't run out. The coils I'm pumping out at a not so alarming rate are 1/4" Inner Diamaeter. My plan for the Hauberk is for a European 4-1 weave. This is a decently loose weave, but still combat grade with the 16 AWG wire that I'm working with. |
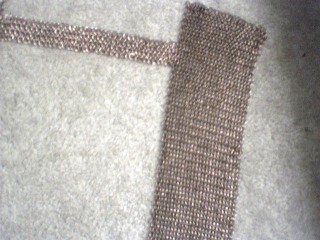
Up close shot of the weave 9/14/03
After working on the hauberk for about 10 hours, here is the beginnings of my hauberk. This shot shows how the weave will turn out. So far, my hours have mostly been consisting of building the spool around the wire, coiling, and cutting links between classes. about 4 hours have actually gone into weaving what I have produced. |
|
|
|
What I have as of today 9/14/03
An overall shot of my progress as of September 14th, 2003. the wider section is going to be over my shoulder, and the narrow strip protruding out across that, is a referance for me on how wide my neck is. The strip for the neck is about 8" wide and is 1 3/4" long. The larger section is 5" wide and 15 1/4" long with a small chunk of 1 1/4" wide by 1 3/4" long hanging from the side that will be towards the neck so that I can attach the stip that will be running across the front of the neck. |
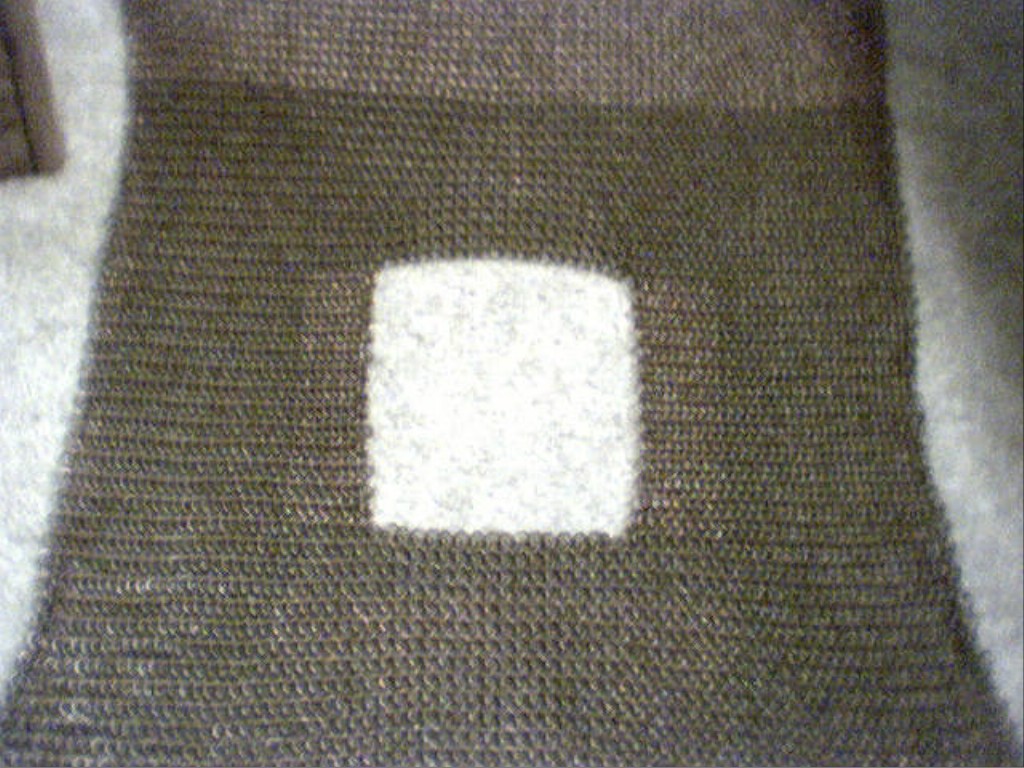
Slowly advancing towards the sleeves.
Ok, I'm not advancing very fast... or at least it seems that way. I'm working at a decent speed, its just that it looks like I'm going no where. Here is a pic of what I've got going so far right now. as soon as both the front and the back are about even when they hang on myself, I'm going to attach the sides in the underarm to start on the sleves. Note: the hole in the middle is the head hole and is approx 7"x7" Sorry for the blurry pic. |
|
|
|
|
|
|
|
|
|
|
|
|
|
|
|
|
|
|
|
More Will follow.... later
This is all I have so far. I'll post more as time progresses and the pictures are clear enough to show actual progress.
October 06, 2003
d^_^b
|
|